Skim coating for smooth walls
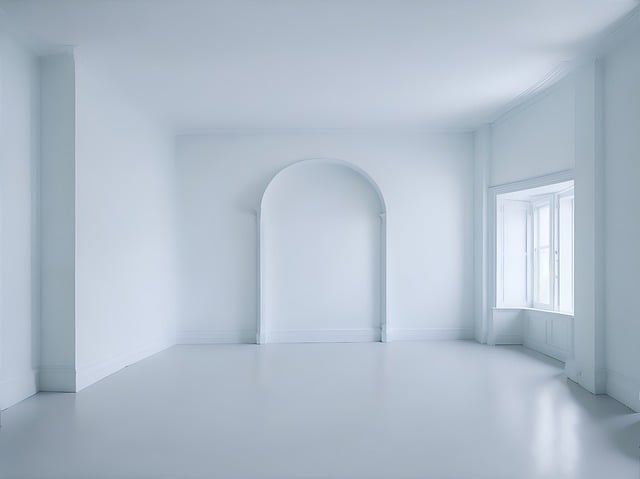
Table of Contents
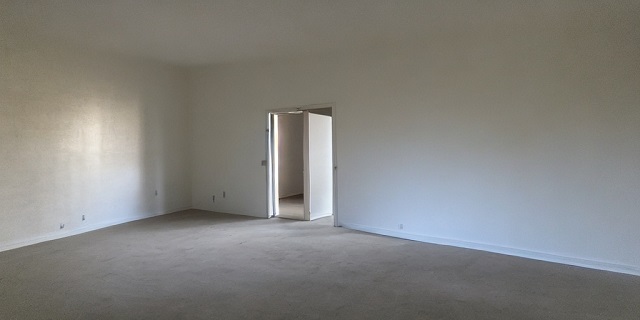
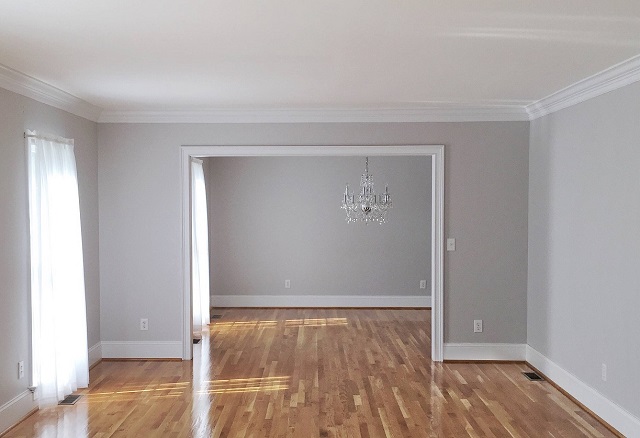
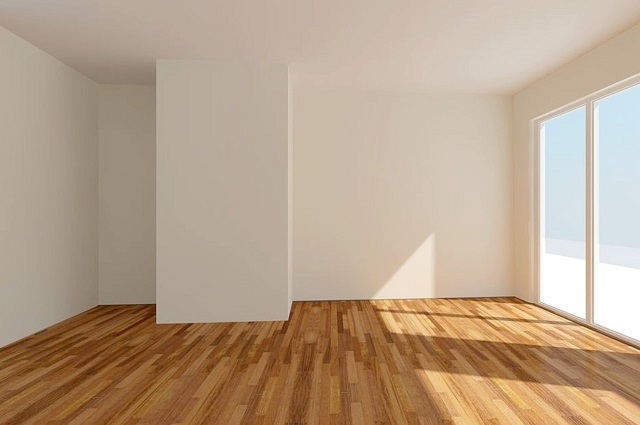
Benefits of Skim Coating for Walls
Achieving a flawless finish to walls is a common desire for many homeowners. When it comes to plastering walls, skim coating has proven to be a popular choice for its ability to create a smooth and even surface. This technique involves applying a thin layer of joint compound, or skim coat, over existing wall surfaces to hide imperfections and create a clean canvas for painting or wallpapering.
The benefits of skim coating for walls are manifold. Not only does it provide a seamless base for paint application, but it also helps to level out uneven surfaces, resulting in a professional-looking finish. Additionally, skim coating can cover up minor blemishes, such as small dents or dings, without the need for extensive repairs. Overall, skim coating is a cost-effective and efficient way to refresh the appearance of your walls and revitalize your living space.
Tools and Materials Needed for Skim Coating
To begin the process of plastering walls with a skim coat, you will need a few essential tools and materials. Firstly, a stainless steel taping knife in various sizes is vital for applying the skim coat smoothly and evenly. Additionally, a mud pan will come in handy for holding and mixing the skim coat compound efficiently. A mixing paddle attachment for a power drill can also expedite the process of creating a lump-free skim coat mixture. Other necessary tools include a sanding block or sandpaper for smoothing out imperfections after the skim coat dries, as well as a sturdy ladder for reaching high walls.
In terms of materials, you will require a high-quality skim coat compound, which is typically available in powder form and can be mixed with water to the desired consistency. It’s crucial to choose a product that offers good adhesion and easy workability for achieving a smooth finish on the walls. Additionally, make sure to have painter’s tape on hand for protecting adjoining surfaces and a drop cloth to catch any drips or spills during the skim coating process. Lastly, consider investing in a good quality primer and paint for a professional-looking finish once the skim coat is applied and dried.
Preparing the Wall Surface Before Skim Coating
Before applying a skim coat to your walls, it is crucial to ensure that the surface is properly prepared. Start by inspecting the walls for any cracks, holes, or imperfections that need to be addressed. Use a putty knife to fill in any gaps with spackling compound and sand it smooth once dry. Next, thoroughly clean the walls to remove any dust, dirt, or grease that could affect the adhesion of the skim coat. A clean surface is essential for a successful skim coating process.
After filling in any imperfections and cleaning the walls, it is recommended to prime the surface before applying the skim coat. Priming helps the skim coat to adhere better to the wall surface and promotes a smoother finish. Choose a high-quality primer that is compatible with the skim coat compound you will be using. Apply the primer evenly using a roller or brush and allow it to dry completely before proceeding with the skim coating process. Properly preparing the wall surface sets the foundation for a professional-looking skim coat finish.
• Inspect the walls for cracks, holes, or imperfections
• Fill in gaps with spackling compound and sand smooth
• Thoroughly clean walls to remove dust, dirt, or grease
• Prime the surface before applying skim coat for better adhesion
• Choose a high-quality primer compatible with skim coat compound
• Apply primer evenly using roller or brush
• Allow primer to dry completely before proceeding with skim coating process
Mixing the Skim Coat Compound Correctly
To ensure a successful skim coating project, the correct mixing of the skim coat compound is essential. The process begins by adding the required amount of water to a clean mixing bucket. Follow the manufacturer’s instructions for the water-to-powder ratio to achieve the desired consistency. Slowly pour the skim coat powder into the water while stirring continuously with a mixing paddle. It is crucial to achieve a smooth and lump-free mixture to ensure even application on the walls. Be mindful not to overmix the compound, as it can affect the final finish of the skim coat.
Additionally, it is recommended to let the mixed skim coat compound rest for a few minutes before application. This allows the ingredients to properly bond and ensures a more workable consistency. Keep in mind that different brands of skim coat may have varying mixing instructions, so always refer to the product packaging for specific guidelines. A well-prepared skim coat compound will make the application process smoother and result in a more professional finish on your plastered walls.
Applying the Skim Coat to the Wall
Once the wall surface has been properly prepared, and the skim coat compound is mixed to the right consistency, it is time to begin applying the skim coat. Start by using a steel trowel or a drywall knife to scoop up some of the skim coat compound. Then, holding the trowel at a slight angle to the wall, spread a thin layer of the compound in an upward motion. Avoid applying too much pressure to prevent any uneven buildup. Continue this process, working in small sections at a time, until the entire wall is covered with a thin layer of the skim coat.
After the initial thin layer is applied, wait for it to dry slightly before proceeding with additional coats. This waiting period allows the skim coat to set and bond properly to the wall surface. Once the first layer has dried to the touch but is still slightly tacky, apply a second layer of skim coat using the same technique as before. Remember to feather out the edges of each section to blend them seamlessly for a smooth finish. Multiple thin layers are preferable to one thick coat when plastering walls with a skim coat, as this helps to achieve an even and professional-looking result.
Techniques for Achieving a Smooth Finish
To achieve a smooth finish when plastering walls with a skim coat, one important technique is to work in small sections at a time. Applying the skim coat thinly and evenly in one area before moving on to the next helps to control the overall consistency and smoothness of the finish. Additionally, using a trowel or putty knife at a shallow angle can help to spread the skim coat evenly without leaving behind thick ridges or uneven patches.
Another technique for achieving a smooth finish when skim coating walls is to pay attention to the direction of application. Working in a consistent vertical or horizontal pattern can help to minimize the appearance of lines or streaks in the finished surface. By overlapping each pass slightly, you can blend the skim coat seamlessly for a uniform finish. Additionally, feathering the edges of each section as you work can help to create a smooth transition between areas and avoid visible seams or lines in the final result.
Dealing with Common Skim Coating Mistakes
When it comes to plastering walls with skim coat, it can be easy to encounter common mistakes that may affect the final result. One typical error is applying the skim coat too thickly in one go. This can lead to uneven drying, resulting in visible streaks or areas that are not smoothed out properly. To avoid this issue, make sure to apply the skim coat in thin, even layers, allowing each layer to dry completely before adding another.
Another common mistake when skim coating walls is rushing the sanding process. After the skim coat has dried, it is essential to sand it down to achieve a smooth finish. However, sanding too aggressively or using the wrong grit of sandpaper can damage the skim coat and create an uneven surface. Take your time with sanding, using a fine-grit sandpaper and applying gentle pressure to gradually smoothen out the surface for a flawless result.
Tips for Sanding and Smoothing the Skim Coat
When it comes to sanding and smoothing the skim coat on walls, it is essential to use fine-grit sandpaper for the best results. Start by lightly sanding the surface in a circular motion to remove any imperfections and bumps. It is crucial to work gradually and consistently to avoid damaging the underlying layers of the skim coat. Remember to wipe away the dust between sanding sessions to keep the surface clean and smooth before applying a new layer if needed.
To achieve a flawless finish when sanding and smoothing the skim coat, pay attention to the edges and corners of the walls. Use a sanding block or sanding sponge to carefully work on these areas, ensuring they blend seamlessly with the rest of the wall. Take your time during this process to achieve an even and uniform texture across the entire surface. By focusing on detail and using the right tools, you can create a polished and professional look for your plastered walls.
Primers and Paints for a Finished Look
Once the skim coat has dried completely on the walls, the next step in achieving a polished look is to apply a high-quality primer. Primers are essential as they create a uniform surface for the paint to adhere to, ensuring a smooth and long-lasting finish. When choosing a primer, opt for one that is specifically designed for plastering walls to enhance adhesion and coverage. Make sure to follow the manufacturer’s instructions for the proper application and drying times.
After the primer has been applied and dried, it is time to select the perfect paint for your skim coated walls. Acrylic paints are a popular choice due to their durability and ease of application. Select a color that complements your space and personality, ensuring a cohesive look throughout the room. Whether you prefer a matte, eggshell, or satin finish, be sure to apply the paint evenly with a roller or brush for a flawless result. Remember, the combination of a suitable primer and top-quality paint is key to achieving a professional and aesthetically pleasing finish on your skim coated walls.
Maintaining and Touching Up Skim Coated Walls
To keep your skim coated walls looking fresh and flawless, regular maintenance is key. Inspect the walls periodically for any signs of wear and tear, such as small cracks or chips in the skim coat. Addressing these issues promptly can prevent further damage and maintain the overall integrity of the wall surface. Touching up skim coated walls is relatively easy and can be done by applying a thin layer of skim coat compound to the affected area. Smooth out the patch with a trowel or putty knife, blending it seamlessly with the surrounding surface for a uniform finish.
When performing touch-ups on skim coated walls, it’s important to match the color and texture of the existing skim coat as closely as possible. This ensures a seamless and professional-looking repair that doesn’t stand out from the rest of the wall. If the patching compound doesn’t blend in perfectly with the surrounding area, you may need to sand it down lightly and apply another thin layer to achieve a smooth and consistent finish. Remember to allow ample time for the skim coat to dry completely before sanding or painting to avoid any imperfections in the final result.