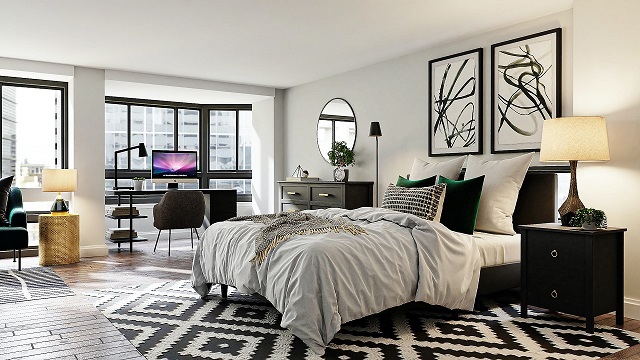
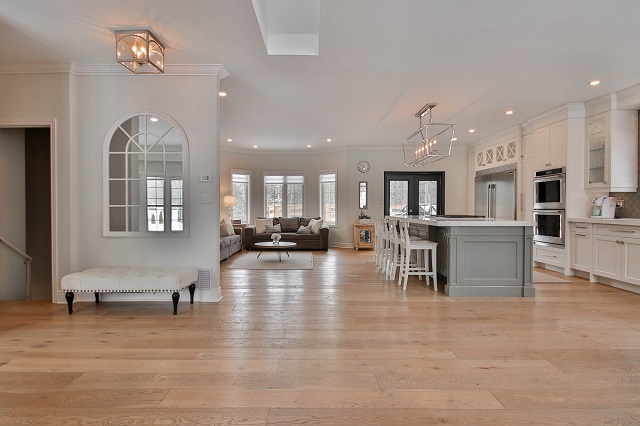
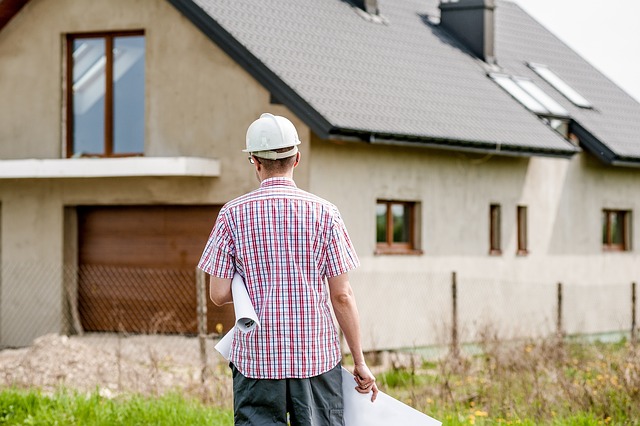
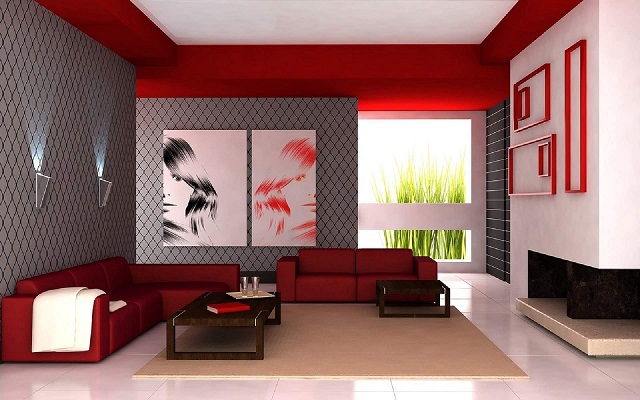
Guide to DIY Bathroom Remodels

Table of Contents
Considerations Before Beginning a DIY Bathroom Remodel
Before starting any kind of home improvement project, it is important to consider the scope of the task. Bathroom remodels can range from small cosmetic changes to complete floor-to-ceiling teardowns and rebuilds. It is important to plan for the entire project, including the budget, timeframe, and materials needed. Setting expectations and researching supplies and costs upfront can help the homeowner plan a realistic remodel that satisfies their needs and wants without major surprises.
Be sure to measure the room, including the space for plumbing and light fixtures, before purchasing materials. Determine which fixtures and materials need to be replaced, such as tubs, toilets, sinks, and faucets, and which you can resurface or repaint for a fresh look without having to purchase new items. Also, consider any safety features you may want to install, such as slip-resistant matting or grab bars. Researching these and other ideas before beginning the project can provide homeowners with a sense of control over the remodel and increase the likelihood of a successful outcome.
Prepping the Room for a DIY Bathroom Remodel
Before making any major changes to your bathroom, it is crucial to prep the space for a DIY project. Clear the room of all furniture, tools, and other accessories in order to have an open canvas. Anything inside the room that is nonessential should be removed and placed in a storage area until the project is completed. During this step, assess the condition of the bathroom and make any small repairs before beginning your remodel. This might include fixing any broken walls, priming the area where wall fixtures were removed, or updating loose caulking. Taking the time to properly prep the area will ensure a successful remodel.
Choosing the Right Materials for a DIY Bathroom Remodel
Choosing the right materials for a DIY bathroom remodel is important in order to achieve the desired look and feel. It is best to start by researching the current trends in bathroom remodels in order to gain an idea of which materials will be best suited for the project. Different materials, such as tiles, fixtures, cabinetry and countertops, can be used to create a unique atmosphere in the bathroom. While expensive materials are not always necessary, budget-friendly items should be selected that are of good quality and long-lasting.
When it comes to materials such as fixtures, tiles, cabinetry and countertops, it is important to create a plan so that the finished product will be both aesthetically pleasing and structurally sound. Matching the colors of the fixtures and tiles can help to tie the various elements of the room together. Additionally, selecting materials that are in line with the desired style will play a key role in the overall appearance of the bathroom remodel.
Replacing Fixtures in a DIY Bathroom Remodel
Fixtures are an important part of any bathroom and they often cause the most amount of disruption when it comes time to remodel. Replacing faded or outdated fixtures with fresh new ones can bring an entire room to life. When picking new fixtures for your DIY bathroom remodel, it’s important to consider things like the size, shape, and color of the fixtures. You should also factor in how they will interact with the other elements of your bathroom.
The materials of your fixtures are also important, and should match the overall style of your bathroom. Popular finishes for fixtures range from chrome to brass, and softer pewter or copper are often featured in modern bathrooms. When it’s time to begin installation, it’s crucial to be mindful of the location of existing pipes and wires, as well as the layout of your sink and haul. To be sure you are installing them properly, refer to the manufacturer’s manual or enlist the help of a licensed electrician or plumber.
Installing a New Vanity in a DIY Bathroom Remodel
Installing a new vanity is an essential part of any remodel. The process can be as straightforward, or complex, as the requirements of the project dictate. It is important that the new vanity is properly fitted and installed correctly to prevent any potential damage.
As any DIY enthusiast knows, the first step in the installation process is to select the vanity that fits the needed specifications. This involves taking measurements that are precise and accurate. Next, the old vanity will need to be removed and the plumbing disconnected. New brackets and supports will need to be mounted, and the new vanity fitted into place, at the specified height. Additionally, careful attention should be paid to ensure that the vanity is level and secure. Once the installation is complete, the plumbing can be reconnected and the vanity counter-top put in.
Installing Tiling in a DIY Bathroom Remodel
No bathroom makeover is complete without some fresh tile. Installing new tile in your bathroom can completely transform the look and feel of the space. Making sure that it’s done properly will mean the difference between a high-quality remodel job and one that looks rushed and unfinished.
When picking out tile, make sure you pick something that is not only pleasing to look at but also suitable for the bathroom environment. Make sure not to purchase tile that will easily break or is difficult to maintain. Additionally, be sure to pick a good grout that will match the colors of the tile and hold up to the water that will be resting on its surface.
Once you have your materials, measure the walls you will be tiling and cut out pieces to fit. Make sure to not cut corners too soon, as an uneven surface can make the tiling job look sloppier than it should. If laying out the final product is proving difficult, use spacers to ensure there is an even amount of grout between each tile. Finally, ensure that the tile is sealed correctly to ensure your hard work will last.
Upgrading the Lighting in a DIY Bathroom Remodel
Installing a new lighting system in a bathroom remodel is relatively straightforward for someone familiar with basic home wiring. It’s important to make sure some form of general room lighting is included in the design, as well as any special fixtures that could require more complicated installations. Light fixtures may range from recessed can lighting to wall sconces and vanity lighting.
When installing the lighting, all components should be securely in place. This includes connecting any wall switches and connecting the electrical power line to the junction box, ensuring the fixture is secure on the ceiling or wall before the light is operated. When the necessary wiring is complete, any trim or coverings can be installed on the fixtures.
Check local building codes before beginning the project to ensure all wiring is done safely and up to code.
- Make sure the power source is turned off before starting any electrical work.
- Securely mount fixtures in place, ensuring they are level and properly supported.
- Connect wires according to manufacturer instructions or hire a professional electrician if needed.
- Test each fixture prior to installation of trim or coverings.
Painting the Walls in a DIY Bathroom Remodel
Painting a bathroom walls is an easy and cost-effective way to give your space an entirely new look. It is important to prepare the wall surface before beginning the painting process. First, you should clean the walls to make sure there isn’t any dirt or debris that will affect the drying process. Then, you should fill any holes and sand down any rough patches to create a smooth surface for painting. Make sure to use a primer over new drywall before applying any paint.
Once the walls are prepped, you can begin to paint. Start by cutting in lines against the ceiling, around edges and between different colors. Roll a coat of paint in areas where it is practical, moving from left to right in a “W” pattern to ensure even coverage. After the first coat dries, apply a second coat if necessary. Once the walls are finished, let them dry for 24 hours before replacing the fixtures.
Replacing the Flooring in a DIY Bathroom Remodel
Replacing the flooring in a DIY bathroom remodel is an important step in achieving the desired outcome. Given the range of options available, making the right choice for your specific bathroom can be daunting. When looking for flooring, soaking areas, such as showers and bathtubs, should be the priority. A water-resistant material such as durable stone or tile will be best in these areas. Otherwise, luxury vinyl is a popular option for a softer and more comfortable surface. It is important to test the materials in different areas and ensure that they are suitable for the level of traffic they would experience in the bathroom. In all cases, the type of subfloor should be taken into account when selecting a set of flooring materials.
Final Touches for a DIY Bathroom Remodel
Once you have finished all the hard work of remodeling your bathroom, it is time for the final touches. Depending on the goals of your bathroom remodel, you might need to arrange furniture, hang wall art, and install window treatments. Furniture can be used to create a comfortable seating area, so that you can have somewhere to sit while getting ready and enjoying a long, relaxing soak. Wall art can also be used to bring some personality and style to your bathroom. Installing window treatments will help to create a cozy atmosphere, even in a remodeled bathroom.
Some other final touches you might need to consider in the bathroom are accessories. Accessories can be used to pull together the design of your bathroom and make it feel complete. Some popular accessories include soap dishes, towel racks, waste bins, and toothbrush holders. Select accessories that fit in with the overall design that you have created and make sure to coordinate them with any fixtures or other materials you used in the remodel.
What should I consider before beginning a DIY bathroom remodel?
It’s important to consider how long you will need to complete the project, what materials you will need, and if you have the necessary DIY skills to complete the task. Additionally, it’s important to make sure that you plan out your budget, timetable, and the specific steps that you will need to take in order to finish your DIY bathroom remodel.
How should I prepare the room for a DIY bathroom remodel?
Before you begin, it’s important to remove any furniture, fixtures, and other items from the room. Once the room is empty, you should clean it thoroughly and fill any small holes or cracks in the walls. Lastly, you may want to cover any areas of the room that you don’t want to be painted or remodeled in order to protect them from dust and debris.
What materials should I choose for a DIY bathroom remodel?
When choosing materials for your DIY bathroom remodel, it’s important to consider the style and design that you are trying to achieve. Some good options include tile, wood, laminate, carpet, and vinyl. Additionally, it’s important to make sure that you choose materials that are durable and easy to clean.
How do I replace fixtures in a DIY bathroom remodel?
Replacing fixtures in a DIY bathroom remodel can be a tricky process. First, it’s important to make sure that you turn off the water supply before attempting any repairs. Additionally, it’s important to make sure that you have the correct tools and supplies necessary to complete the task. Lastly, follow any instructions that come with the new fixture in order to ensure that it is securely and correctly installed.
How do I install a new vanity in a DIY bathroom remodel?
Installing a new vanity in a DIY bathroom remodel requires a bit of planning and preparation. First, make sure that you have the correct tools and supplies needed for the job. Additionally, you should measure the area where you are planning to install the vanity to make sure it will fit. Lastly, follow the instructions included with the vanity to make sure it is properly installed.
How do I install tiling in a DIY bathroom remodel?
Installing tiling in a DIY bathroom remodel can be a complex process. First, it’s important to make sure that the surface is properly prepared and clean before beginning. Additionally, you should lay out all of the tiles to ensure that they fit properly and measure the space to calculate the amount of adhesive and grout that you will need. Lastly, make sure that you are following any instructions included with the tiles or adhesive in order to ensure that they are properly installed.
How do I upgrade the lighting in a DIY bathroom remodel?
Upgrading the lighting in a DIY bathroom remodel is a great way to enhance the look and feel of your bathroom. First, it’s important to make sure that you turn off the power before beginning. Additionally, you should determine the type of lighting that you want and make sure that it is compatible with the existing fixtures. Lastly, make sure to follow any instructions included with the new fixtures to ensure that they are properly installed.
How do I paint the walls in a DIY bathroom remodel?
Painting the walls in a DIY bathroom remodel is a great way to update the look of the space. First, it’s important to make sure that the walls are clean and free of dust and debris. Additionally, you should fill any cracks or holes with spackle and sand them down before painting. Lastly, make sure you use the right type of paint and primer for your walls and never paint over mold or mildew.
How do I replace the flooring in a DIY bathroom remodel?
Replacing the flooring in a DIY bathroom remodel can be a challenging task. First, it’s important to make sure that you have the right tools for the job. Additionally, you will need to measure the area of the floor to determine how much material you will need. Lastly, make sure you follow any instructions included with the flooring to ensure that it is properly installed.
What are the final touches for a DIY bathroom remodel?
Once you have finished the major components of your DIY bathroom remodel, there are a few final touches that you can add to finish the project. These include adding decorative elements like artwork, mirrors, and accessories. Additionally, you can add a few functional pieces such as towel racks and shelves to add more storage space. Finally, make sure to caulk around fixtures and trim to give a finished and polished look.