How to Skim Coat Damaged Plaster Walls
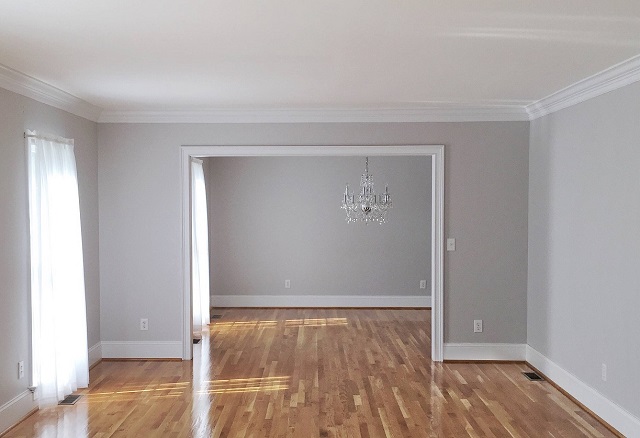
Table of Contents
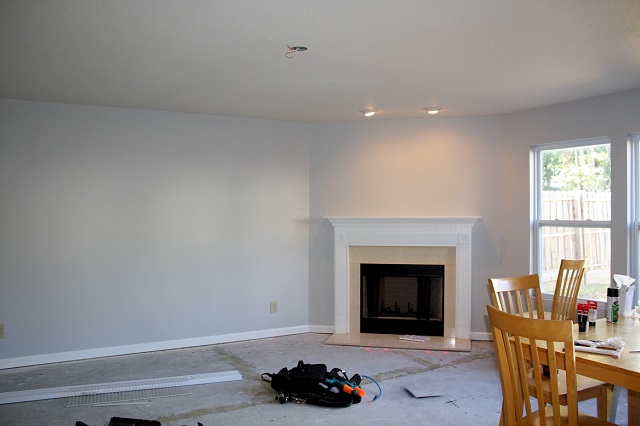
If you have cracked or damaged plaster walls in your home, it can be a frustrating and unsightly problem. One solution is to skim coat the walls, a process that involves applying a thin layer of new plaster over the existing damaged surface to create a smooth and polished look. Skim coating can be a challenging task, but with the right technique and guidance, it’s possible to achieve professional results.
While small skim coating projects may be possible to tackle yourself, more significant or complex projects may require the expertise of a professional plastering contractor to ensure a flawless finish that will last for years to come.
Key Takeaways
- Skim coating is the process of applying a thin layer of new plaster to a damaged wall surface.
- It’s essential to assess the severity of damage and thoroughly prepare the surface before beginning.
- Repairing cracks and holes before skim coating is crucial to achieve a seamless finish.
- Proper mixing and application of the skim coat is essential for optimal results.
- Consider hiring a professional plastering contractor for more complex or significant skim coating projects.
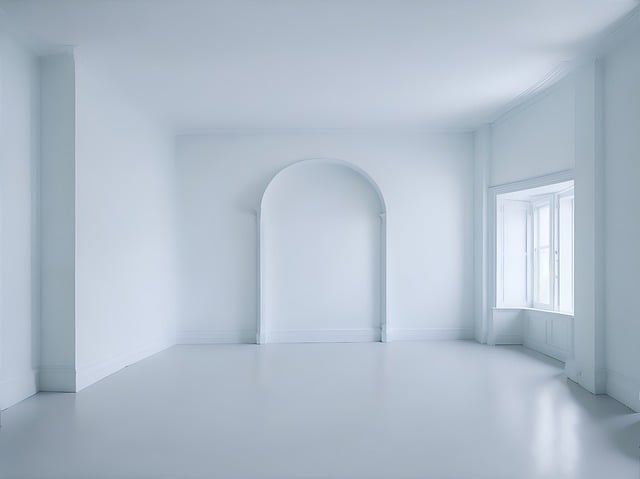
Understanding Plaster Walls and Their Vulnerabilities
Plaster has been a popular material for walls and ceilings for centuries due to its durability, sound and thermal insulation, and elegant finish. Unlike drywall, which has gypsum sandwiched between paper, plaster walls are made from a mixture of sand, lime, and cement, making them stronger and more resistant to wear and tear.
However, plaster is not impervious to damage. Over time, plaster can develop cracks, dents, and holes due to settling, moisture, or impact. These vulnerabilities can compromise the overall integrity of the walls and lead to further damage if left untreated.
It’s important to look for damages, such as cracks and bulges, in plaster walls to prevent further structural damage. If left unattended, these issues can lead to more significant problems that may require costly repairs.
Drywall vs Plaster
While drywall has gained popularity due to its affordability and ease of installation, plaster walls continue to be preferred by many homeowners and restoration professionals. Plaster walls are denser and heavier than drywalls, which makes them more fireproof and soundproof. Plaster walls also offer a high level of customization and artistic detail, from ornate molding to curved walls.
Moreover, plaster walls are much easier to repair compared to drywall. While a simple hole in a drywall requires a patch that may leave visible seams, a hole in a plaster wall can be filled seamlessly without a trace after repainting.
| Plaster Walls | Drywall Walls |
|---|---|
| Stronger and more durable | Lighter and easier to handle |
| More resistant to sound and fire | Less resistant to sound and fire |
| Can be customized with ornamental details | Limited design options |
| Easier to repair and seamless | More visible seams when repaired |
Overall, while drywall may be more practical for certain situations, plaster walls offer many advantages that make them a popular choice for homeowners and restoration professionals.
Assessing the Damage
Before beginning any plaster repair project, it’s crucial to assess the damage to determine the best course of action. There are various types of damage that can occur to plaster walls, including cracks, holes, and water damage.
To identify these types of damages, carefully inspect the walls. Look for cracks that extend across the surface, as well as holes that may have been caused by the removal of hooks, nails, or other objects. Water damage may present as stains or bubbling on the surface, indicating underlying issues that need to be addressed before any repairs are made.
Once the damage has been identified, it’s important to assess the severity of the issue. Minor cracks and holes can often be repaired with some simple techniques, but larger or more extensive damage may require the help of a professional plastering contractor. By accurately assessing the damage, you can ensure that you’re taking the appropriate steps to repair and restore your damaged plaster walls.
Preparing the Surface
Before starting to skim coat damaged plaster walls, it’s important to prepare the surface properly to ensure a smooth finish. Here are the necessary steps to follow:
| Steps | Details |
|---|---|
| Clean the wall surface | Remove any dust, dirt, or debris from the wall surface using a vacuum cleaner, broom, or soft cloth. |
| Remove loose debris | Scrape off any loose paint, plaster, or other material using a putty knife. Make sure to remove all the loose debris before proceeding. |
| Fill holes and cracks | Use spackle or joint compound to fill any holes or cracks that are larger than 1/8 inch. Smooth the surface using the putty knife and let it dry completely. |
| Sand the surface | Use a fine-grit sandpaper to sand the wall surface lightly. This will help to create a smooth base for the skim coat. |
| Clean the surface again | Remove any remaining dust or debris from the wall surface using a soft cloth. |
By following these steps, you can ensure that your damaged plaster wall is ready for the skim coat. Skipping these preparatory steps can result in an uneven finish or other issues with the skim coat.
Repairing Cracks and Holes
Before applying the skim coat, it’s essential to repair any cracks and holes in the plaster to ensure a smooth and durable finish. The technique used for repairing cracks and holes will depend on the size and severity of the damage.
While small cracks can be filled with spackling paste or joint compound, larger cracks and holes require more attention. A popular method is to use plaster of Paris or joint compound mixed with sand for added durability.
The process involves:
- Cleaning the damaged area with a wire brush and vacuuming up any debris.
- Dampening the area with a sponge and water.
- Applying the filler into the crack or hole, using a putty knife or trowel.
- Allowing the filler to dry and sanding with a fine-grit sandpaper.
- Reapplying the filler if necessary and repeating the sanding process until the surface is level.
It’s important to note that it’s always best to prime the repaired area before applying the skim coat, which will ensure a smoother and more uniform finish.
Mixing the Skim Coat
Before applying the skim coat, it is crucial to mix it thoroughly to achieve the desired consistency and optimal results. To mix the skim coat compound:
- Start by pouring the skim coat powder into a clean mixing bucket.
- Add water gradually while stirring constantly.
- Use a mixer drill attachment to ensure a smooth and clump-free mixture.
- Mix the compound for approximately 5 minutes until it reaches a toothpaste-like consistency.
Keep in mind that different brands of skim coat may have slightly different mixing instructions, so be sure to read the label carefully and follow the manufacturer’s recommendations.
It is also important to mix only the amount of skim coat that can be used within the specified time frame to avoid the compound drying out and becoming unusable.
By properly mixing the skim coat compound, you can ensure a smooth and durable finish on your damaged plaster walls.
Applying the Skim Coat
After preparing the damaged plaster surface and repairing any cracks or holes, it’s time to apply the skim coat. To achieve a smooth and flawless finish, it’s important to apply the skim coat in thin, even layers. Here are the step-by-step instructions:
- Mix the skim coat compound according to the manufacturer’s instructions. You can use a drill mixer to ensure a smooth consistency.
- Using a trowel, apply a thin layer of the skim coat compound to the wall. Start from the top and work your way down.
- Spread the skim coat evenly over the wall, using long, smooth strokes. Avoid applying too much pressure, which could cause the skim coat to become too thick.
- Allow the skim coat to dry according to the manufacturer’s instructions. This typically takes a few hours.
- If necessary, apply another thin layer of the skim coat compound using the same technique as before.
- Allow the skim coat to dry completely before sanding and smoothing the surface.
Remember to take your time and apply each layer of skim coat as thinly and evenly as possible. This will help you achieve a flawless finish that looks as good as new.
Sanding and Smoothing
One of the most critical steps in achieving a flawless skim coat is sanding and smoothing the surface between layers. Not only does this help create a seamless finish, but it also ensures that each layer adheres properly to the previous one.
To start, use a fine-grit sandpaper to lightly sand the surface, making sure to remove any bumps or imperfections. Be careful not to oversand or apply too much pressure, as this can damage the underlying plaster.
After sanding, wipe the surface clean with a damp cloth to remove any dust and debris. Then, apply another thin layer of skim coat, making sure to spread it evenly over the surface. Repeat the sanding and smoothing process between each layer until you achieve the desired finish.
Remember that skim coating is a multi-step process that requires patience and attention to detail. By taking the time to properly sand and smooth each layer, you can ensure a smooth and flawless finish that will last for years to come.
Adding Additional Coats (if necessary)
After applying the first coat of skim coat, it is crucial to let it dry completely before deciding whether additional coats are necessary. Depending on the severity of the damage and the desired finish, it may be necessary to apply a second or even a third coat of skim coat.
When adding additional coats, be sure to sand and smooth each layer before applying the next. This will ensure a seamless and polished final result. Additionally, it is essential to allow each coat to dry completely before proceeding with the next, as applying coats too soon can cause lumps and bumps in the skim coat.
If you are unsure whether additional coats are necessary, consult with a professional plastering contractor. They will be able to assess the damage and provide guidance on the number of coats required to achieve the desired outcome.
Finishing Touches
After applying the skim coat to the damaged plaster walls, it’s time to add the finishing touches to ensure a polished look.
Priming the Skim Coat
Before applying paint or wallpaper, it is important to prime the skim coat with a high-quality primer. This will seal the surface and create a better base for the final finish.
Painting or Wallpapering
Once the primer is dry, it’s time to choose the final finish for the wall. Whether painting or wallpapering, be sure to use high-quality materials for lasting results.
Clean Up
After completing the project, clean up any tools and materials used for skim coating and finishing the wall. A clean workspace will ensure the success of future DIY projects.
Hiring a Professional
If the project is too large or complex to handle alone, it may be time to hire a professional plastering contractor. They can ensure a perfect finish and save time and money in the long run.
Hiring a Professional Plastering Contractor
While skim coating smaller damaged plaster wall areas may be doable for some DIY enthusiasts, more extensive projects may require the services of a professional plastering contractor who has the expertise and tools to complete a flawless job. A professional contractor can:
- Ensure proper surface preparation to guarantee optimal results
- Provide a seamless finish even on tricky surfaces or intricate designs
- Complete the job in less time and with less hassle than a DIY project
- Offer valuable advice on maintenance and the right types of coatings to help extend the life of the newly coated walls
When hiring a plastering contractor, look for someone experienced and certified in the field, with a proven track record of successful projects completed within your area. Check online reviews and ask for referrals from friends or family who have used their services before. Get multiple quotes and compare them before making a final decision.
Conclusion
Skim coating damaged plaster walls may seem like a daunting task, but with the right techniques and tools, it can be an achievable DIY project. It is important to properly assess the damage, repair any cracks or holes, and prepare the surface before applying the skim coat. Mixing and applying the skim coat in thin, even layers is crucial to achieving a smooth finish, and sanding and smoothing between layers is a vital step for optimal results.
While small projects can be tackled independently, larger or more complex jobs may require the expertise of a professional plastering contractor. Researching and hiring a reputable contractor can ensure the work is done safely and efficiently.
By following the steps outlined in this article, readers can successfully skim coat damaged plaster walls and achieve a polished and flawless finish, enhancing the overall look of their home or space.
FAQ
Can I skim coat cracked plaster walls myself?
While it is possible to skim coat cracked plaster walls yourself, it is highly recommended to hire a professional plastering contractor. They have the necessary skills and experience to ensure a smooth and long-lasting finish.
What is the difference between plaster walls and drywall?
Plaster walls are made of a mix of gypsum, lime, and sand, creating a durable and solid surface. Drywall, also known as gypsum board or sheetrock, consists of a layer of gypsum sandwiched between paper. Plaster walls offer better sound and fire resistance but are more susceptible to cracks and damage over time.
How can I inspect my plaster walls for damages?
Look for cracks, bulges, sagging, or areas where the plaster is crumbling or separating from the lath. These signs indicate plaster damage that may require skim coating or repair.
What steps should I take to prepare the damaged plaster surface for skim coating?
Start by cleaning the surface, removing any loose debris, and repairing any significant cracks or holes. Sand down rough patches to create a smooth base for the skim coat.
How can I repair cracks and holes in plaster walls?
Small cracks can be fixed by applying a patching compound or joint compound. For larger cracks or holes, use a combination of joint compound and mesh tape to reinforce the repair. Allow the patch to dry before applying the skim coat.
What is the proper way to mix the skim coat compound?
Follow the manufacturer’s instructions on the packaging for the correct water-to-compound ratio. Slowly add the compound to the water while stirring until a smooth consistency is achieved.
How do I apply the skim coat to the damaged plaster walls?
Use a trowel or wide putty knife to apply the skim coat in thin, even layers. Start from the top and work your way down, overlapping the strokes. Avoid applying too much pressure to prevent further damage to the plaster.
Why is sanding and smoothing important in the skim coating process?
Sanding and smoothing the skim coat between layers helps create a seamless surface by removing imperfections and achieving a uniform texture. It also improves adhesion for subsequent coats.
How many coats of skim coat may be needed?
Depending on the condition of the plaster walls and desired finish, multiple coats of skim coat may be necessary. Apply additional coats only after the previous layer has dried and been sanded smooth.
What are the finishing touches after applying the skim coat?
After sanding the final coat, prime the skim coat to enhance adhesion and paintability. Then, apply paint, wallpaper, or other desired finishes to complete the repaired plaster walls.
Should I hire a professional plastering contractor for skim coating?
For larger or complex skim coating projects, hiring a professional plastering contractor is highly recommended. They have the expertise and equipment to ensure a high-quality finish and save you time and effort in the process.