Mastering Drywall taping
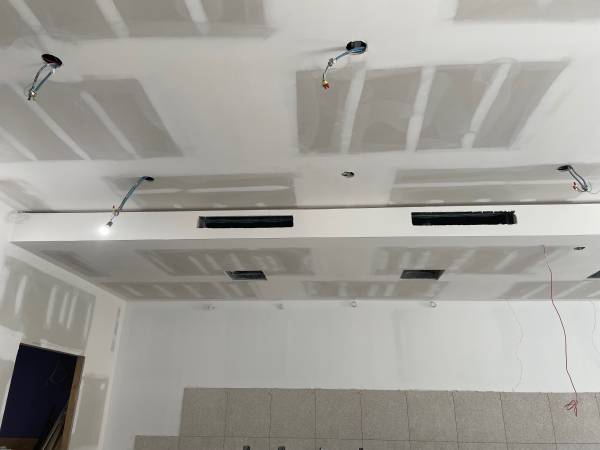
Table of Contents
Benefits of Mastering Drywall Taping
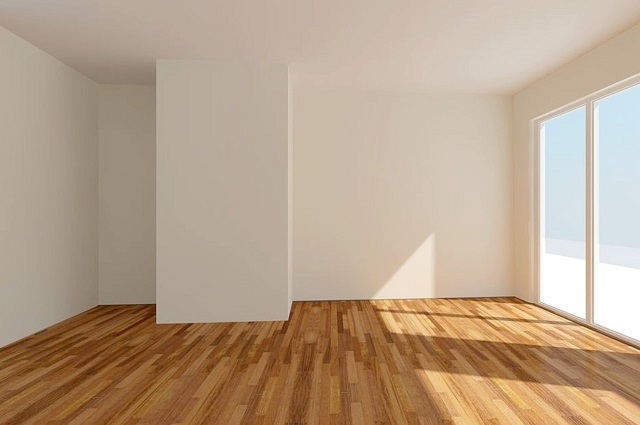
Mastering the art of drywall taping offers a multitude of benefits to both amateur DIY enthusiasts and seasoned professionals. By honing your skills in drywall taping, you can elevate the overall quality of your finished walls or ceilings to a level of precision and smoothness that exudes professionalism. The ability to seamlessly blend joints and create a flawless surface not only enhances the aesthetics of a space but also increases the value of the property.
Moreover, mastering drywall taping allows you to save both time and money in the long run. With expertise in taping techniques, you can efficiently complete projects with fewer errors and rework, reducing the need for costly fixes and repairs. Additionally, the confidence that comes from producing high-quality results empowers you to take on more challenging projects and expand your repertoire, opening up opportunities for growth and advancement in the field.
Understanding the Tools and Materials Required
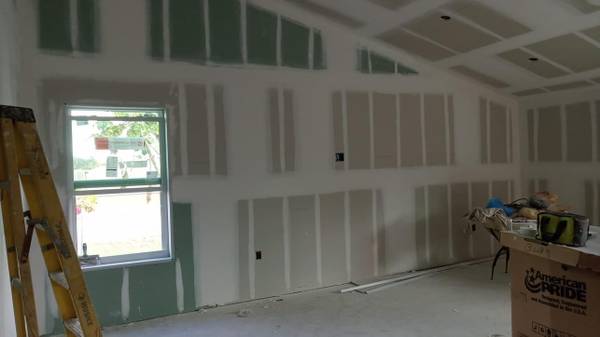
To tackle drywall taping with precision and efficiency, it is essential to have the right tools and materials at your disposal. Some basic tools that every drywall taper should have include a taping knife, mud pan, corner trowel, sanding block, and a utility knife. These tools are the backbone of the taping process and having high-quality versions of each will significantly improve the outcome of your project.
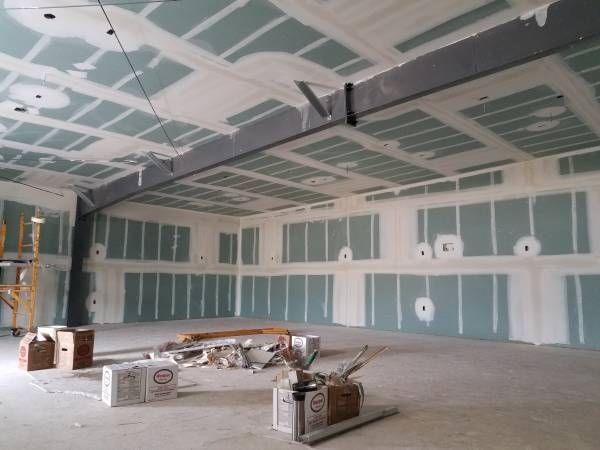
In addition to the tools, the materials used in drywall taping play a crucial role in achieving a flawless finish. Joint compound, also known as mud, is the primary material used to cover and seal the joints between drywall panels. It is available in different formulas, such as setting-type and ready-mixed, each with its own advantages. Paper or fiberglass tape is used to reinforce the seams before applying the joint compound, ensuring a strong and durable bond. Lastly, sandpaper of various grits is essential for smoothing out the dried compound and achieving a seamless transition between the taped joints and the rest of the wall.
Importance of Proper Joint Preparation
Proper joint preparation in drywall taping is a crucial step that sets the foundation for a flawless finish. Without adequate preparation, even the most skilled tapers may struggle to achieve smooth and seamless joints. Ensuring that joints are clean, dry, and free of debris is essential for the joint compound to adhere properly. Any irregularities or inconsistencies in the joints must be addressed before applying tape and compound to prevent future cracking or peeling.
Additionally, properly prepping joints involves checking for any protrusions or recessions that may affect the taping process. Any protruding screws or nails should be set below the surface of the drywall to create a level plane for taping. Conversely, recessions should be filled with joint compound and smoothed out to avoid creating visible humps or valleys in the finished product. Taking the time to meticulously prepare joints before taping will ultimately save time and effort in the long run, resulting in a professional-quality outcome.
Techniques for Applying Joint Compound
When applying joint compound, it is essential to have the right tools and techniques to achieve a professional finish. Begin by loading your joint knife with compound and applying it evenly along the joints. Smooth the compound with a feathering technique to create a seamless transition between the drywall panels. Avoid leaving any excess compound on the surface, as this can create bumps and ridges that will need to be sanded down later.
To achieve a smooth and flawless finish, apply multiple thin coats of joint compound rather than one thick layer. Allow each coat to dry completely before sanding and applying the next one. Use a taping knife to feather the edges of each coat to blend them seamlessly into the surrounding drywall. By mastering these techniques for applying joint compound, you can ensure that your finished walls have smooth, invisible seams that will enhance the overall look of the space.
Achieving Smooth and Seamless Joints
To achieve smooth and seamless joints in drywall taping, it is essential to pay meticulous attention to detail during the application of joint compound. Start by feathering the edges of the compound thinly and evenly over the joint, ensuring a gradual transition from the compound to the drywall surface. This technique helps to blend the joint seamlessly with the surrounding area, creating a professional and seamless finish.
Furthermore, always remember to apply consistent pressure when feathering out the joint compound to avoid visible lines or bumps in the finished surface. Taking the time to build up thin layers of compound, allowing each layer to dry completely before adding another, will result in a smooth and flawless joint. By mastering the art of achieving smooth and seamless joints, you can elevate the overall look of your drywall installation and produce a high-quality finish that is sure to impress.
Tips for Taping Inside Corners
When taping inside corners, it’s vital to remember that the process requires precision and attention to detail. Start by applying a thin layer of joint compound to both sides of the corner, making sure to feather the edges to create a smooth transition. Using a corner trowel or a 4-inch drywall knife, press the tape into the compound, ensuring it sits snugly within the corner.
Next, carefully smooth out any excess compound using a drywall knife or trowel. Avoid leaving bumps or ridges, as they can be difficult to sand down later. Once the first layer is dry, apply a second coat of compound over the tape, feathering the edges out even further. Remember to allow each layer to fully dry before applying the next one to achieve a seamless finish.
Mastering Outside Corner Taping
Outside corner taping is a crucial aspect of achieving a polished look in your drywall finishing. When mastering outside corner taping, precise measuring and cutting of the corner bead are essential to ensure a clean and professional appearance. Start by applying a thin layer of joint compound to the corner, then embed the corner bead into the compound, making sure it is perfectly aligned with the corner edge.
Once the corner bead is in place, apply multiple thin layers of joint compound over it, feathering the edges outwards to create a seamless transition. A light touch and attention to detail are key in achieving smooth and straight outside corners. Remember to allow each layer to dry completely before sanding and applying the next one for a flawless finish that will enhance the overall look of your project.
Proper Sanding Techniques for a Professional Finish
Ensure a flawless finish by mastering proper sanding techniques for your drywall taping project. Start by using a sanding block or pole sander with fine-grit sandpaper to smooth out any imperfections or bumps in the joint compound. Work in a circular motion, applying even pressure to avoid creating uneven patches or gouges in the surface.
After the initial sanding, switch to a finer grit sandpaper to refine the finish further. Lightly sand the entire taping area to create a seamless transition between the joint compound and the drywall. Take your time and pay attention to detail to achieve a professional finish that is smooth to the touch and ready for painting or texturing.
Dealing with Common Taping Mistakes
To produce high-quality drywall finishes, avoiding common taping mistakes is crucial. One prevalent error is using insufficient amounts of joint compound, leading to poor adhesion and visible seams. It’s essential to apply an adequate layer of compound to ensure a smooth and seamless finish. Inadequate feathering out of joint compound is another mistake that can result in visible ridges and imperfections. Be sure to feather out the compound evenly to create a seamless transition between the patched area and the surrounding wall.
Furthermore, failing to properly sand the joint compound can leave a rough and uneven surface, detracting from the overall aesthetic of the wall. Smooth out the dried compound using fine-grit sandpaper in a circular motion until the surface is uniform and free of imperfections. Neglecting to prime the patched areas before painting is a common error that can result in uneven paint absorption and color variation. Apply a coat of primer to the repaired areas to ensure a uniform finish once the paint is applied.
Advanced Taping Tips for Difficult Areas
When faced with challenging areas in drywall taping, such as around windows, doors, or curved walls, precision and patience are paramount. One effective tip for these difficult areas is to use a flexible putty knife or a specially designed corner trowel to achieve smooth and even joints. These tools can help you navigate tight spaces and tricky angles with ease, ensuring a seamless finish that blends seamlessly with the rest of the wall.
Another pro tip for tackling difficult areas in drywall taping is to apply multiple thin coats of joint compound rather than trying to cover it all in one go. By layering the compound in thin, even coats and allowing each layer to dry completely before applying the next one, you can build up a strong and smooth finish without the risk of bumps or imperfections. This method may take a bit longer, but the result will be a professional-looking surface that will stand the test of time.
Creating Perfect Butt Joints
To achieve flawless butt joints in drywall taping, precision and attention to detail are paramount. These joints occur where two square-cut edges meet with no overlapping of drywall panels. Ensuring a tight and seamless finish at these connections is crucial for a polished look in any drywall project.
One essential tip for creating perfect butt joints is to feather the joint compound outward from the center. By applying thin coats of compound and feathering them smoothly in all directions, you can blend the joint seamlessly with the surrounding drywall. This technique helps to create a smooth transition between the panels and minimizes the appearance of the joint. Remember, patience and consistent feathering are key to achieving professional-looking butt joints that seamlessly integrate into the overall wall or ceiling surface.
Mastering Taping for Textured Walls
With textured walls, mastering taping requires a slightly different approach compared to smooth surfaces. When working on textured walls, it is crucial to pay extra attention to pressing the tape firmly into the texture to ensure proper adhesion. Be sure to use the right amount of joint compound to fill in any gaps and adhere the tape securely.
Additionally, when taping textured walls, consider using a wider taping knife to help blend the joint compound smoothly into the textured surface. This will help create a seamless finish without disrupting the texture pattern. Remember to feather out the edges of the joint compound to avoid any ridges or bumps that could stand out against the texture once painted.
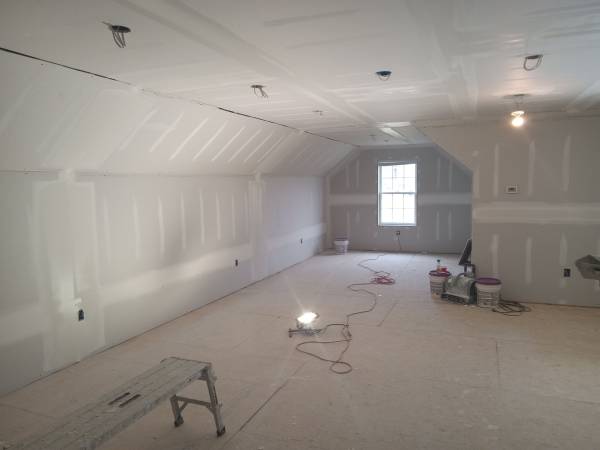
How to Properly Finish Taping on Ceilings
Ceilings present a unique challenge when it comes to finishing drywall taping. To properly finish taping on ceilings, it is crucial to start by ensuring the joints are well-prepped and clean before applying the joint compound. Using a high-quality taping knife that is wide enough to cover the width of the joint will help in achieving a smooth finish. Apply the joint compound evenly over the joints, making sure to feather out the edges to blend seamlessly with the surrounding drywall.
Once the joint compound has dried completely, sand the area gently to create a professional finish. Be mindful not to oversand, as it can lead to uneven surfaces and visible imperfections. After sanding, inspect the ceiling closely under different lighting conditions to catch any flaws that need to be addressed before proceeding to prime and paint. With proper attention to detail and a methodical approach, finishing taping on ceilings can result in a seamless and polished surface that enhances the overall look of the space.
Importance of Quality Control in Drywall Taping
Quality control is an essential aspect of achieving professional results in drywall taping. Without proper oversight and attention to detail, even the most skilled application techniques can fall short. Ensuring that each step of the taping process is executed with precision is key to achieving a flawless finish that meets industry standards.
Proper quality control measures involve closely inspecting joints for any imperfections, checking for consistency in the application of joint compound, and verifying that all tools and materials are utilized correctly. By maintaining strict quality control throughout the taping process, contractors can increase customer satisfaction, reduce the need for rework, and uphold a reputation for delivering high-quality work.
Resources for Continuing Education and Improvement
For those looking to further enhance their skills in drywall taping, there are various resources available to aid in continuing education and improvement. One avenue to explore is enrolling in specialized workshops or courses offered by industry professionals. These hands-on learning experiences can provide valuable insights and practical knowledge that may not be easily accessible through self-study alone. Additionally, joining online forums and communities dedicated to the craft of drywall taping can offer a platform for networking with fellow professionals, sharing tips and techniques, and staying up-to-date on the latest trends and developments in the field.
Furthermore, investing in books, guides, and instructional videos focused on drywall taping can be a beneficial way to deepen one’s understanding of the subject. These educational materials often cover a wide range of topics, from basic techniques to advanced methods, providing a comprehensive resource for individuals looking to expand their expertise. Additionally, attending industry conferences, trade shows, and seminars can offer opportunities to connect with experts, learn about cutting-edge tools and technologies, and gain inspiration from top practitioners in the field. Such events can be instrumental in broadening one’s knowledge base and honing their skills in the art of drywall taping.